WF 06
Back to Basics — A Hand Charrette
A triangular plaza in Harlem · Pen · Trace
Length2 sessions
Sheet11"×17" Tabloid
ScalePlan 1"=20' · Section 1"=10'
DueThu Nov 19
Learning Objectives
- Thinking on paper under time pressure
- Designing for the body at a known scale
AssignmentDesign a triangular plaza in Harlem by hand: three 11"×17" sheets (a plan at 1"=20' with a concept diagram, two sections at 1"=10' with people, and an eye-level perspective), photographed and posted to Miro as one PDF.
Download base plan (PDF, 11×17 at 1"=20')
Submit to Miro board
Password: "c*****2026", shared via email
Brief
→
Trace + Pen
→
Plan · Sections · Perspective
→
Partner Talk
A charrette is a short, intense working session on one design problem. Each of you designs by hand, fast, with no screens. I walk around, demo at your desk, and draw on trace over your ideas.
Software makes a polished image in seconds. Thinking a design through on paper, at the right scale, in front of a client or a jury, is still yours to do. These two sessions train it.
In the terms from WF04, a charrette has almost no button knowledge in it. It trains the other two: behavior, how a body occupies space at a known scale, and judgment, deciding what this plaza should be for.
Session 1
Technique + Warm-Up
01
Bring Your Kit
Before class
Everything fits in a bag. Bring it to both sessions.
- 11"×17" trace pad, enough for six sheets
- Two pen weights: a fine liner (Micron 03 or 05) and a Sharpie or brush pen
- An architect's or engineer's scale with 1"=10' and 1"=20'
- Tape and your sketchbook
02
Demo: Fast Graphics
In class
Watch the demo and draw along on trace.
- Line weight sets hierarchy. Heavy for cut lines and building edges, light for paving and texture.
- Plan graphics. Trees as circles with a shadow, seating as solid edges, paving as a few joints.
- Fast sections. Ground line first, then the body, then what shelters the body.
- One-point perspective. Horizon at eye height, about 5' above the ground.
- Tone by hatching. Shade with the pen alone: parallel strokes for shadow, closer together for darker, crossed for the darkest.
Further reading: Edward Hutchison, Drawing for Landscape Architecture: Sketch to Screen to Site (Thames & Hudson, 2019). How a landscape architect draws a project, from the first site sketch to the finished presentation.
03
Warm-Up: A Bench and a Tree
In class
Sketch a corner of about 30'×30' where one person can sit in the shade of one tree: a plan, a section through the seat, and a quick perspective. Put a person in every drawing.
- Seat height 18", backrest 32", tree canopy 12' or higher.
Before Session 2, read the brief in Step 04, print the base plan, and study the aerial.
Session 2
Studio Charrette
04
The Site and a First Idea
Before class
The site is a planted triangle in Harlem where a diagonal avenue cuts across the grid, about 115 by 180 feet curb to curb. Design it as a public space for the people who live, wait, and pass through here. The base plan and the aerial show the site as it is today; treat them as a starting point, not a limit.
- Edges. A wide two-way boulevard with a planted median and a bike lane runs along one side. A one-way avenue runs along the diagonal, with parallel parking on the far curb and angled parking against a narrow island on the triangle's side. A quieter cross street closes the third side.
- Context. Apartment buildings face the triangle, with storefronts on their ground floors. The cross street to the south is a busy commercial street, and churches, a public library, and a subway station are within a block or two. A bus stop sits on the boulevard side, near the tip.
- Speculative storefronts. The base plan marks a restaurant, a café, and shops facing the triangle. They are not all there today. Assume a good public space will draw them, and design the edges where tables, queues, and deliveries meet your plaza.
- The street is yours to decide. NYC's Open Streets program lets neighborhoods close streets to cars. You decide what happens to the one-way avenue and its parking.
- Heat. Harlem is among the most heat-vulnerable parts of the city. Design for shade, cooling, and a place to rest on the hottest day of the year.
- Existing trees. The base plan shows the existing trees with their approximate canopies. Decide which ones your design keeps and builds around.
- Challenges. Traffic on three sides, long crossings at the boulevard, the narrow tip of the triangle, and people waiting for the bus beside fast boulevard traffic.
Print the base plan at 100% (actual size) on 11×17, or print the letter version on two sheets and tape them together at the dashed line. Draw on trace over it. Come to Session 2 with one sentence naming your idea and a thumbnail sketch of it.
05
Develop the Design
In class
Work on all the drawings at once and move between them as the idea needs. A section often changes the plan; a perspective shows what the plan missed. I come by your desk to demo and to sketch on trace over your sheets. Keep that trace.
- Plan, 1"=20'. Trace over the base plan, the scale of your WF01 drafting. Mark the section cut lines and add a small concept diagram.
- Two sections, 1"=10'. At least six people in each, each doing something different: sitting, leaning, walking, waiting for a bus.
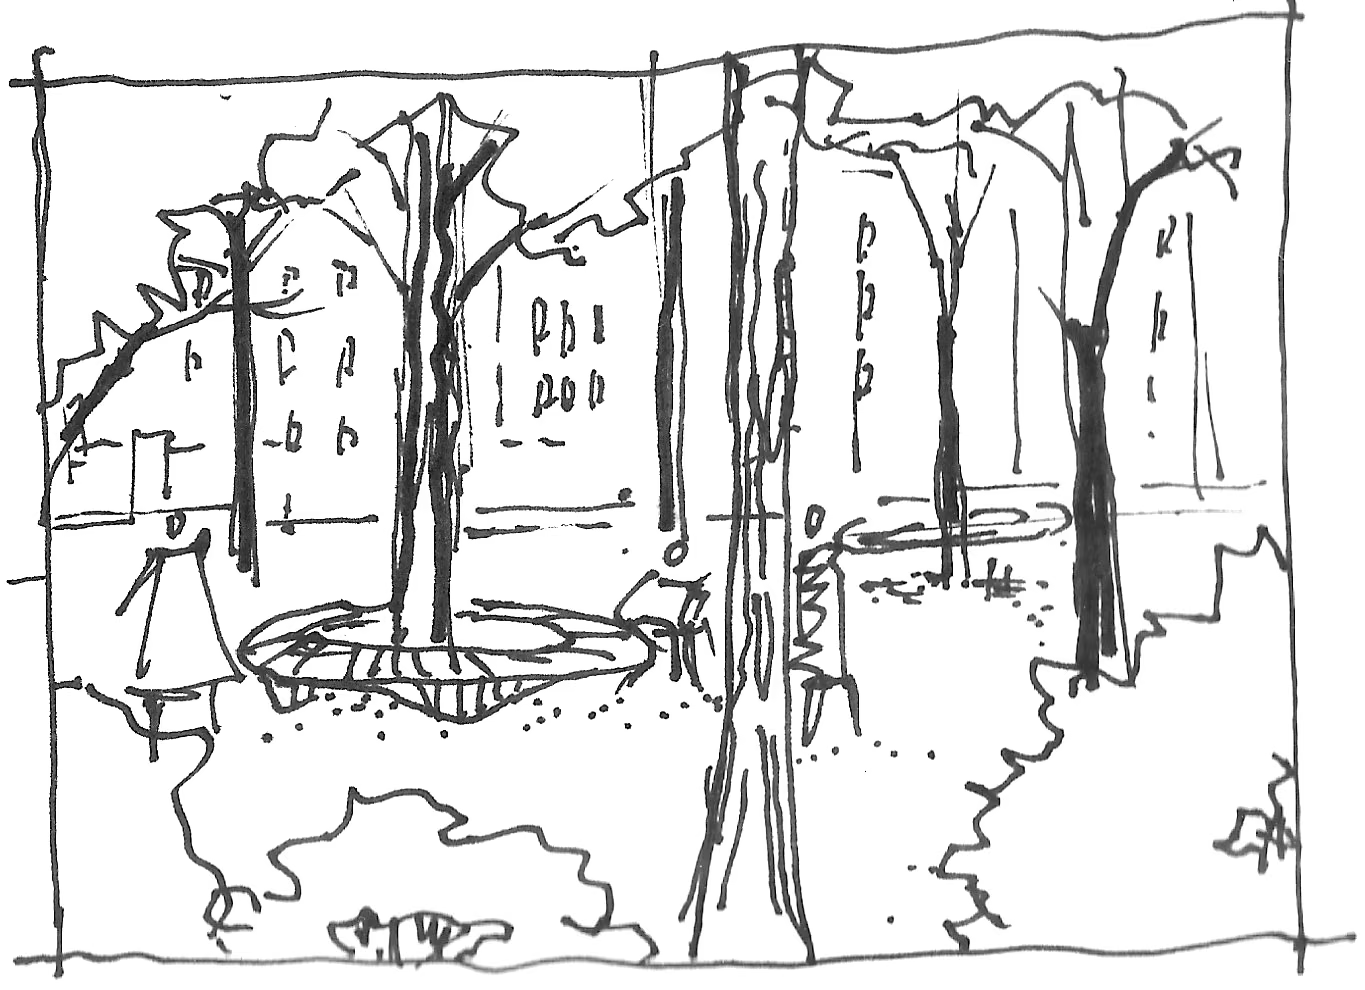
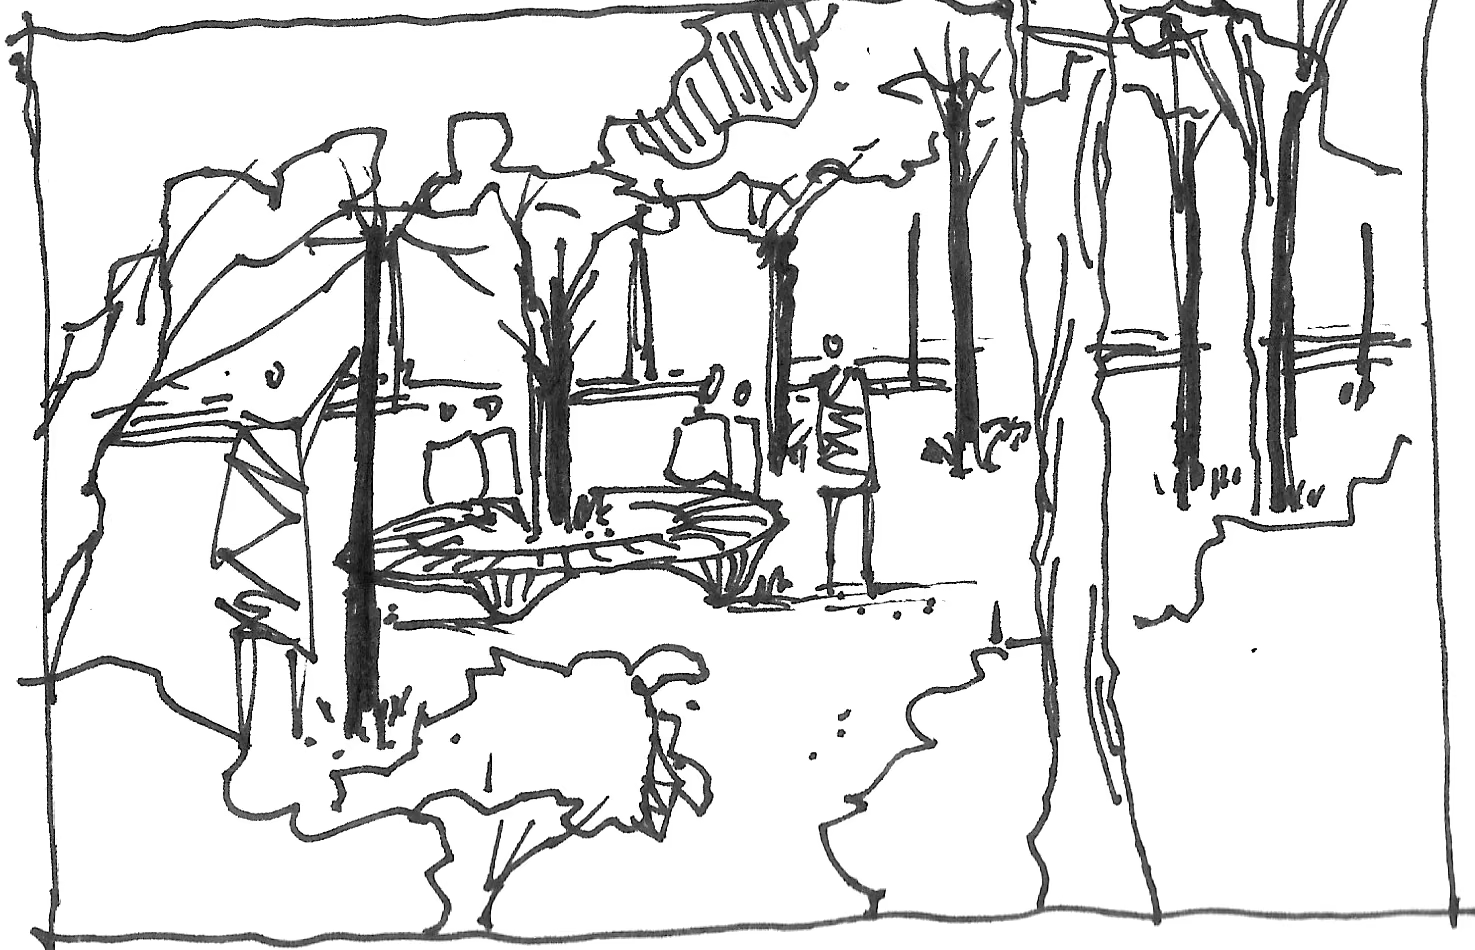
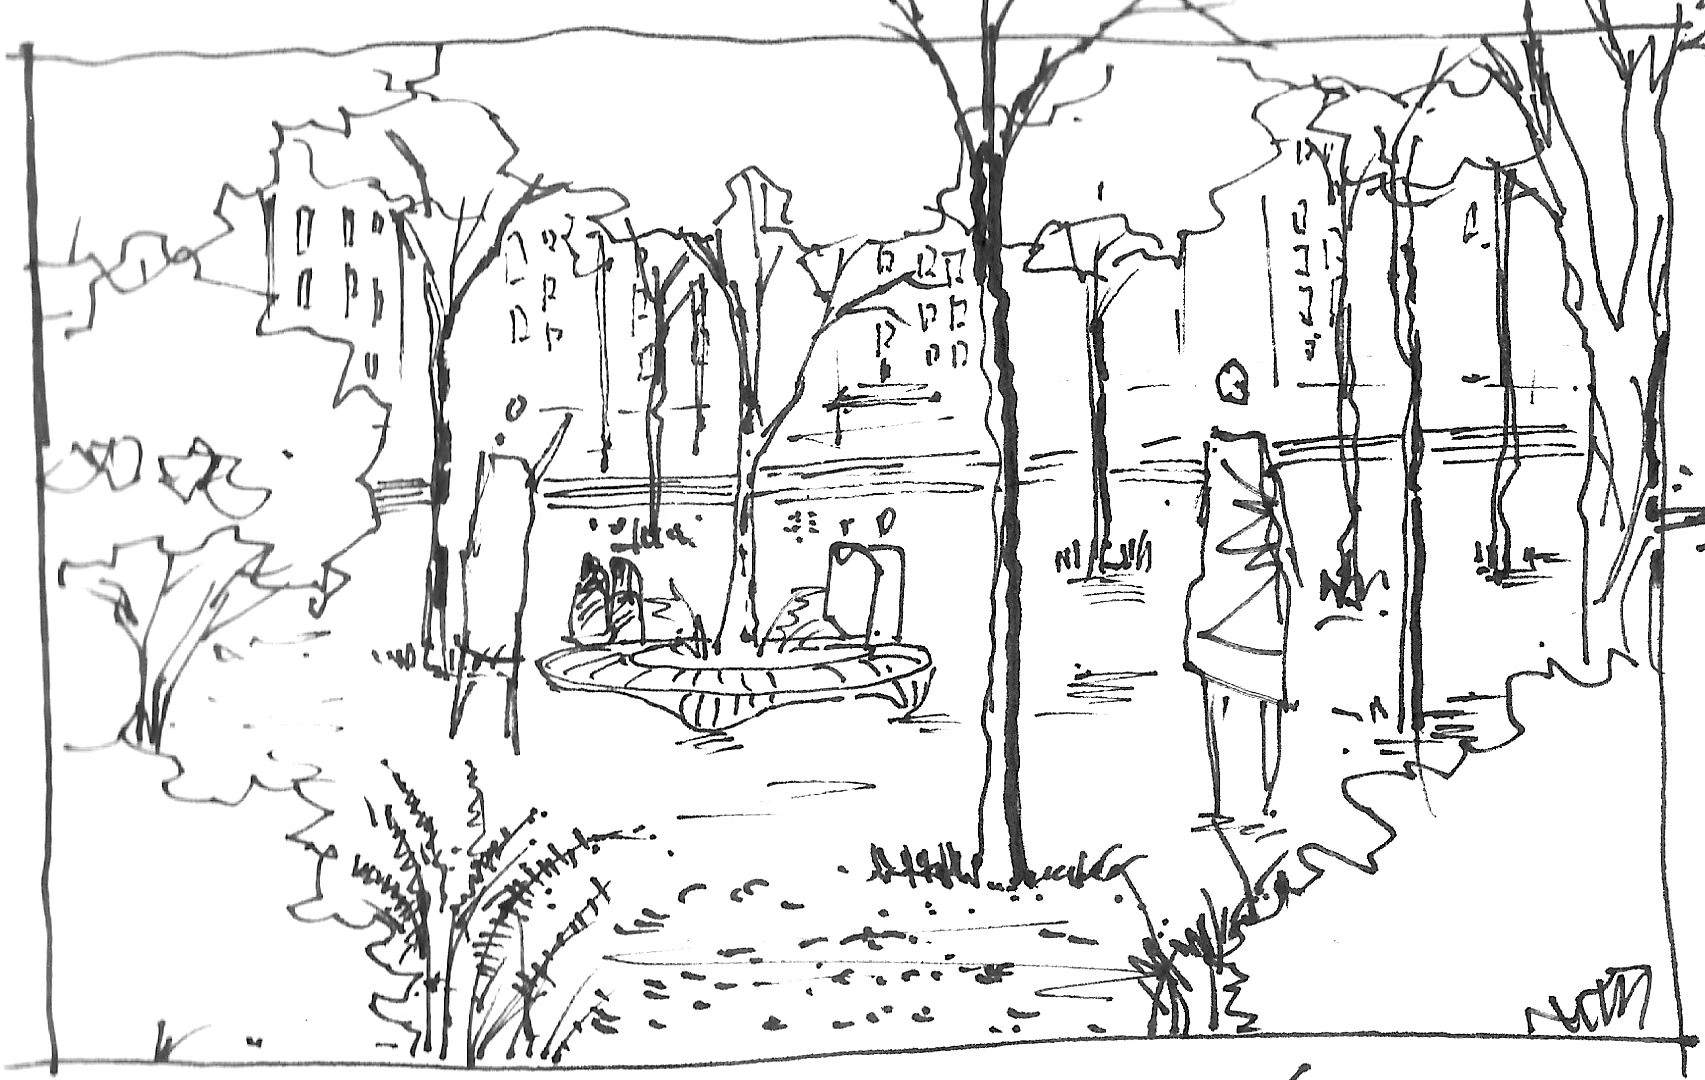
- Eye-level perspective. Stand somewhere in your plaza and draw what you see. Draw the same view at least three times, each on fresh trace, and keep every version. Add a title and your name to the last one.
06
Talk It Through with a Partner
Last 20 min
Pair up and walk your partner through your design, about five minutes each, using your drawings: the idea, how a person moves through and uses the space, and what you would develop next. Then switch.
07
Finish and Submit
Due Nov 19
Finish the three sheets by hand. Photograph each one flat in even light, along with the trace from our desk sessions, combine them into one PDF, and post it to Miro.
Optional
AI Workflow: Draw, Render, Judge, Redraw
AI
Render Your Perspective, Then Judge It
After class · Not graded
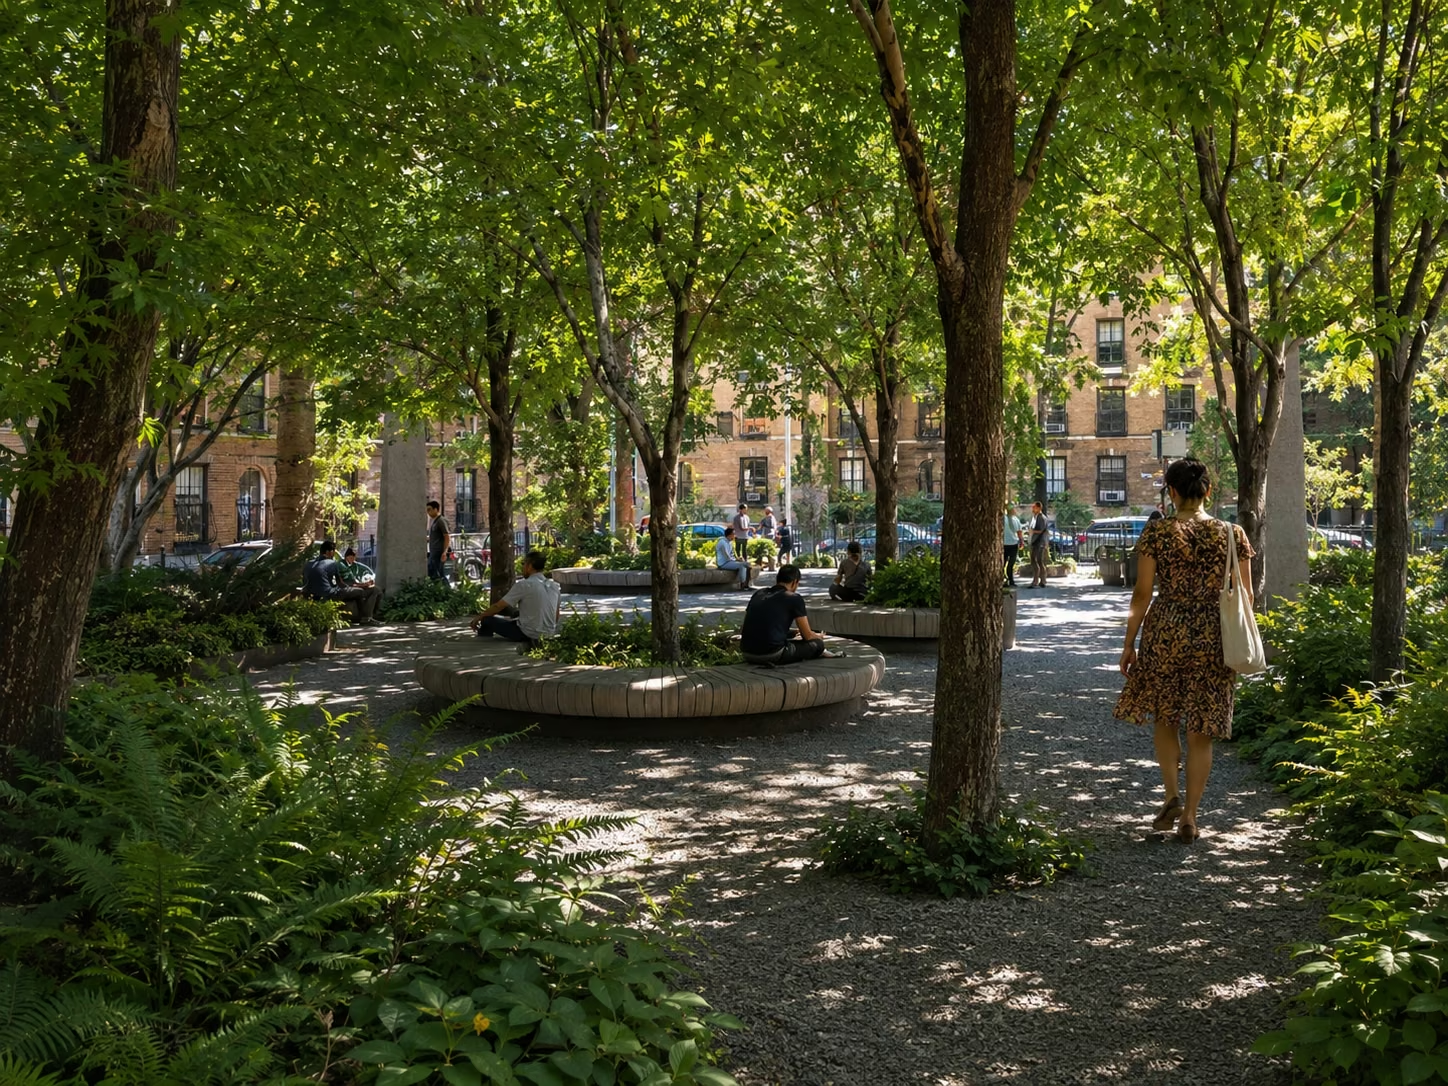
After Session 2, you can test your perspective with an image model such as ChatGPT. Draw the view at least three times by hand first, then render your best version. Name the place, the season, the materials, and what people are doing in the prompt.
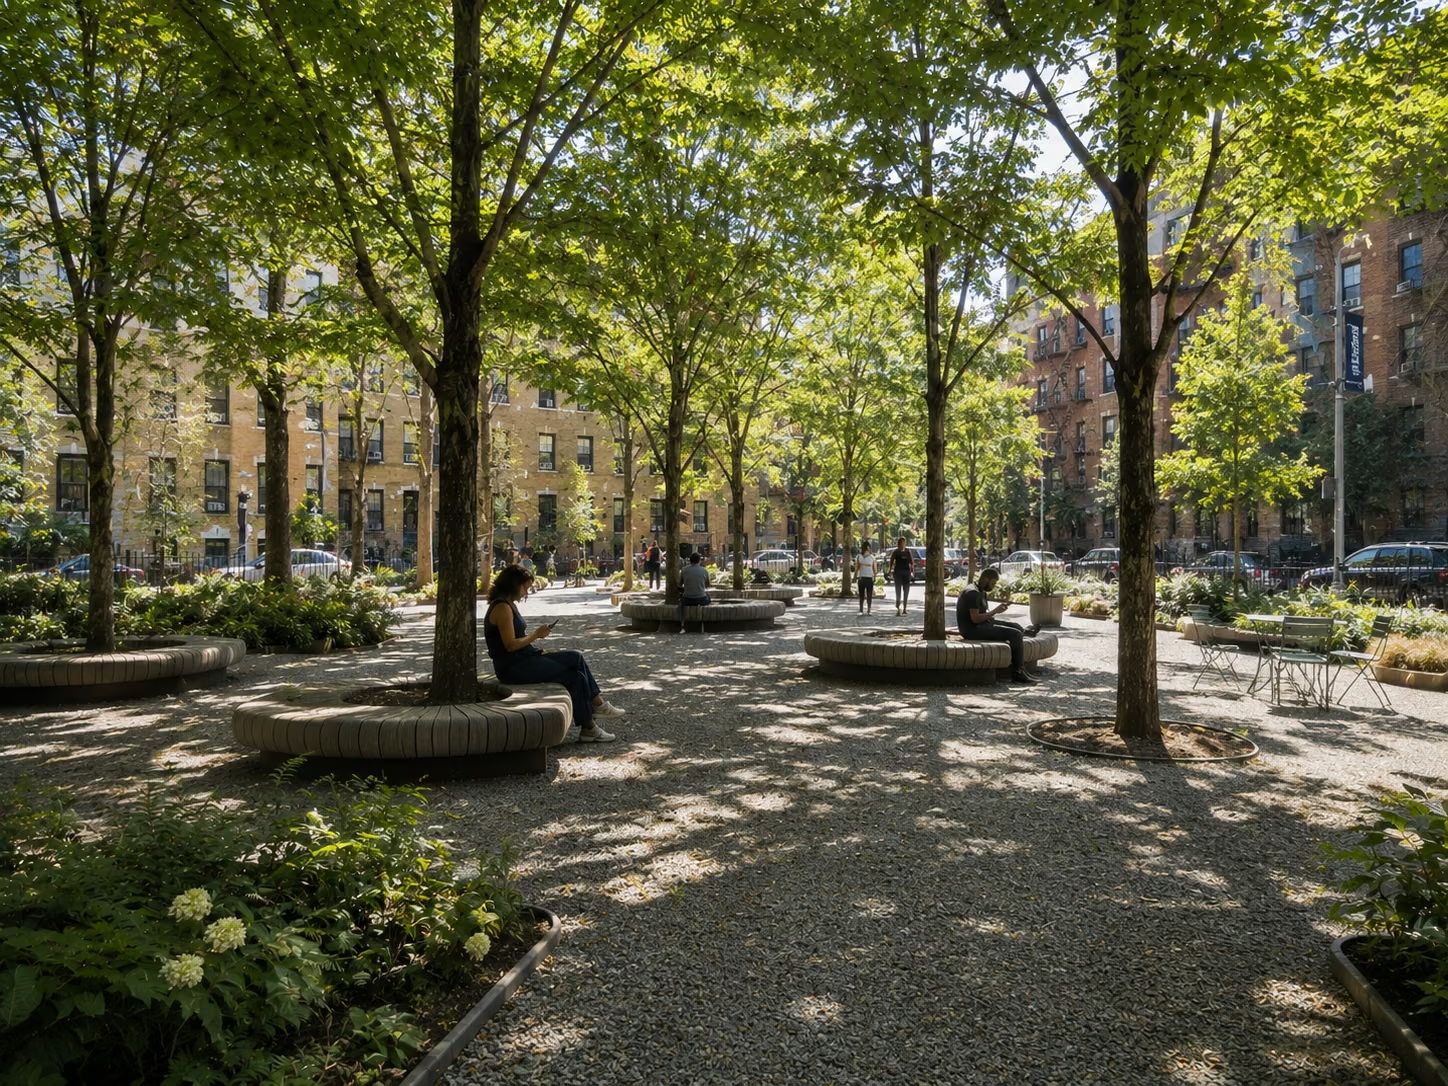
Judge the render for shade, safety, and scale, and ask for a revision if it needs one. Carry what you learn back into the plan, sections, and perspective, and finish the sheets by hand. The examples below are my own sketches and renders for a plaza grove.
▸ Example: One View, Drawn Three Times Optional
▸ Example: Render, Judge, Ask Again Optional
How It Is Graded
- Idea — one clear design idea you can read from the drawings
- Scale — bodies, seats, steps, and trees sized correctly
- Graphics — line weight and hatching that set a clear hierarchy
- Development — how the idea grew across the drawings and the desk sessions